Lego A7000 Laptop
This is my third Lego case, and nearly four years since the last one. Since then I've been scouting around for a suitably small and flat monitor with which to build a laptop design. Luckily I found a suitable one at a computer fair (and then another of the same type off ebay when I broke the first). It is not that practical, rubbish 10 year old hardware, no battery, and you can't detach the PSU from the back for carrying it.
Hardware
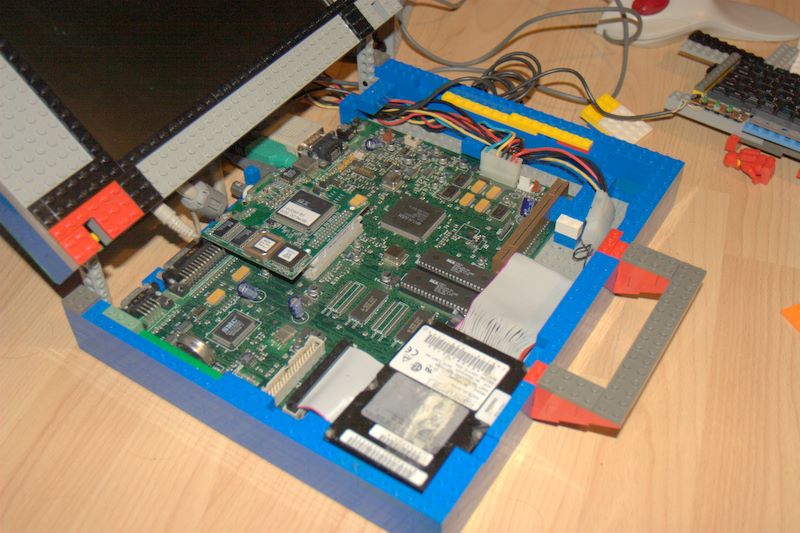
- Acorn A7000 motherboard, 32MHz ARM7500, 4MB onboard RAM and RISC OS 3.60.
- Additional 64MB RAM SIMM
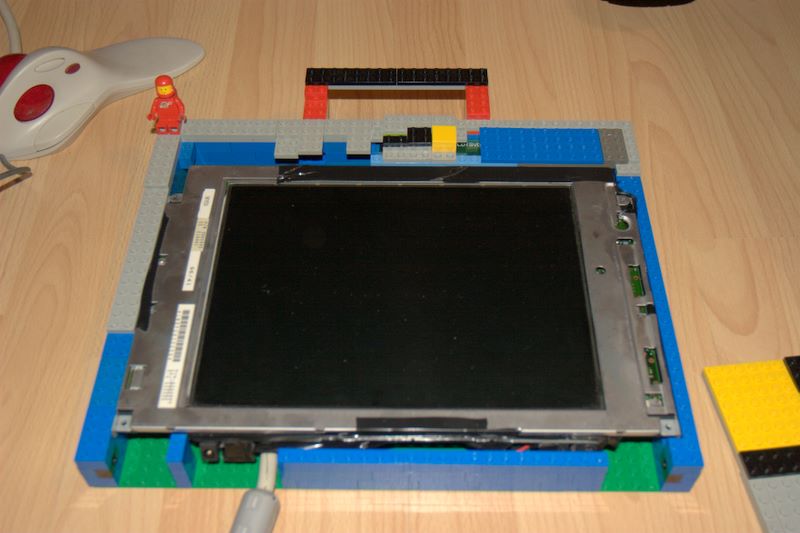
- IBM 9052-V01 LCD monitor, 10 inch, 640x480@60Hz.
- 2GB 2.5" laptop hard drive.
- Mini USB/PS2 keyboard.
- EtherH Network Card.
- Internal speaker
- A large amount of Lego.
Software
- RISC OS 4.00, Pace internal release, softloaded over 3.60
- Custom white desktop theme
Photos of case, final design
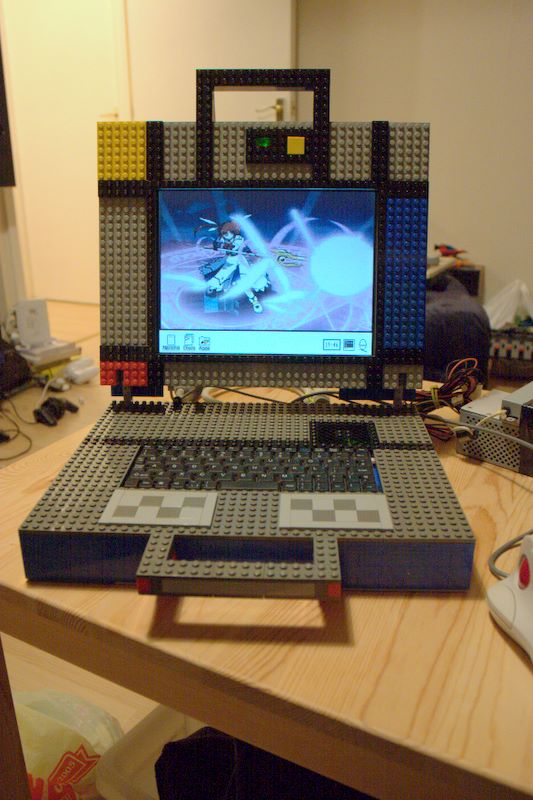 The laptop |
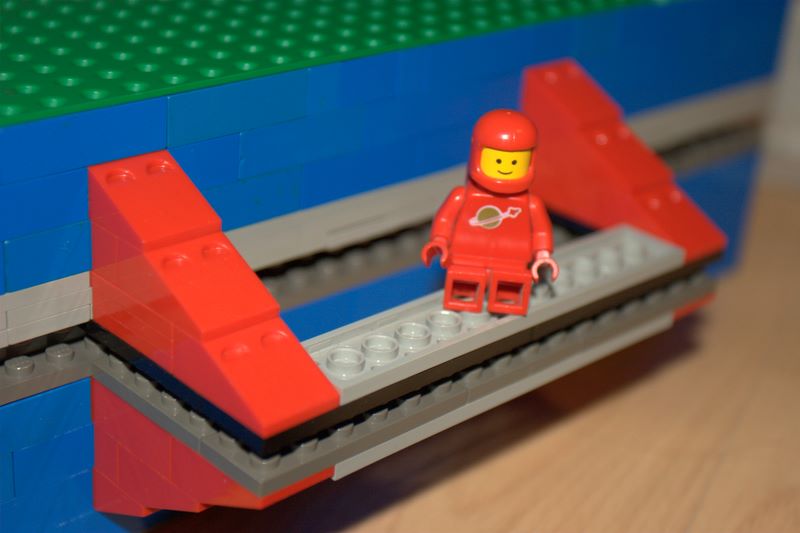
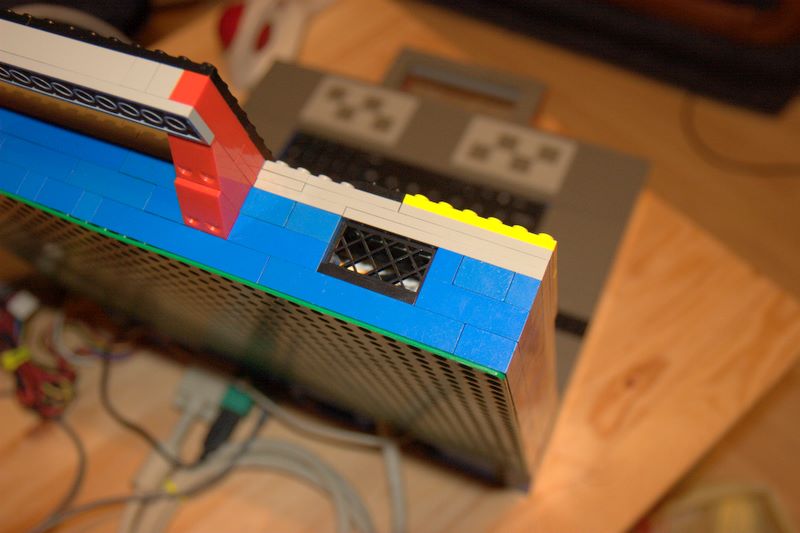 The LCD screen heat vents |
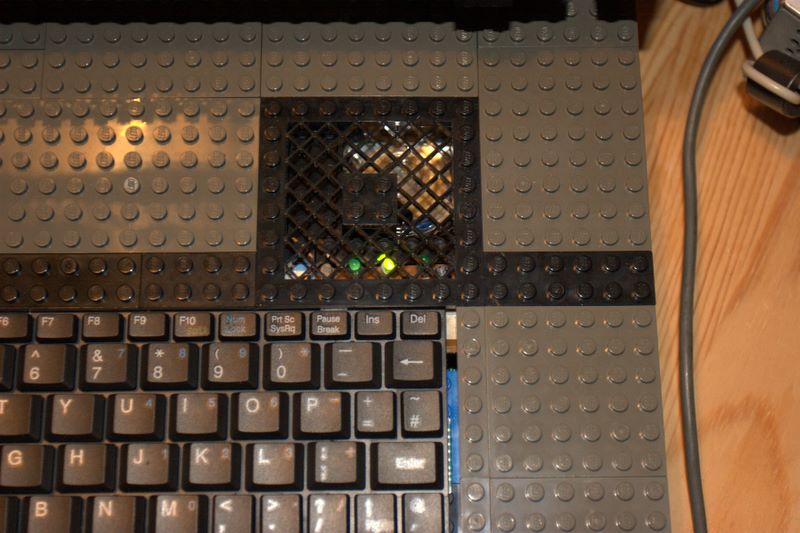 Loudspeaker grille and keyboard lights |
 The cables never tidied |
 The OS |
Photos of case, earlier model
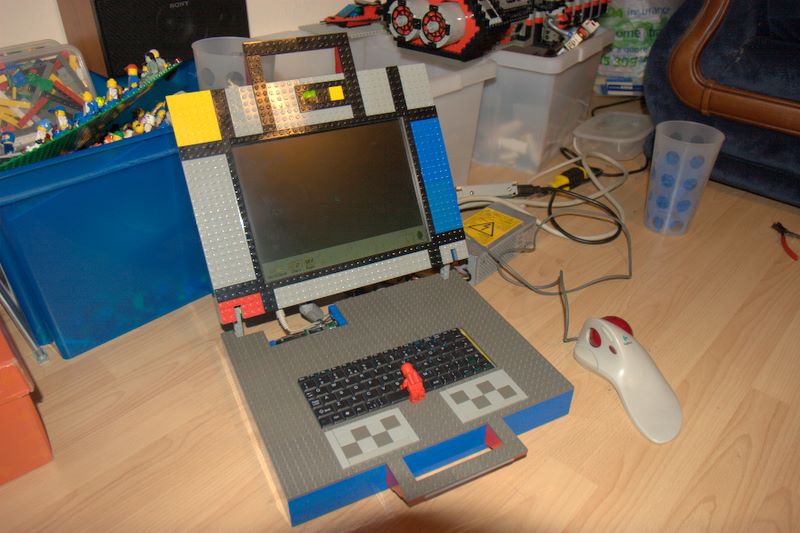 The laptop |
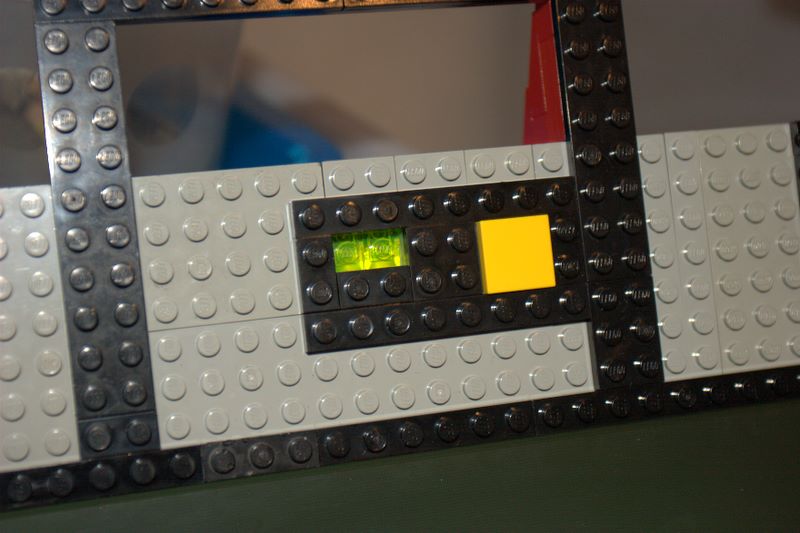 Power button and power light |
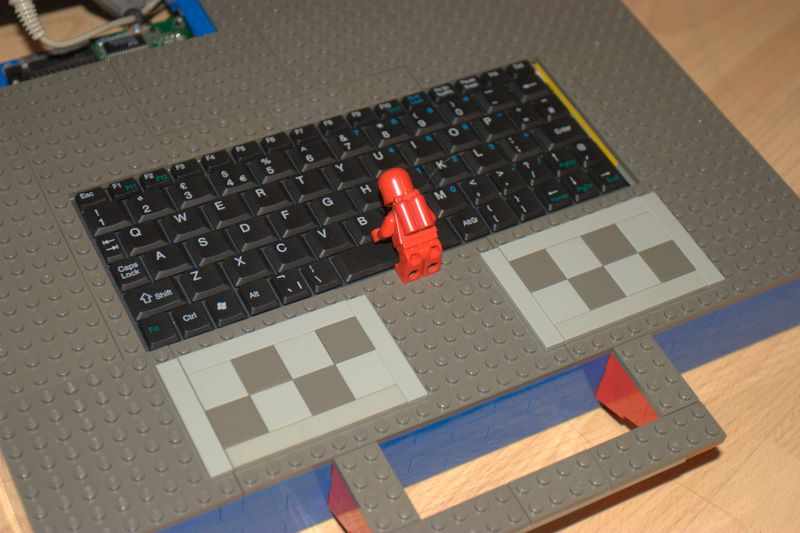 Keyboard and wrist rest |
 The handle |
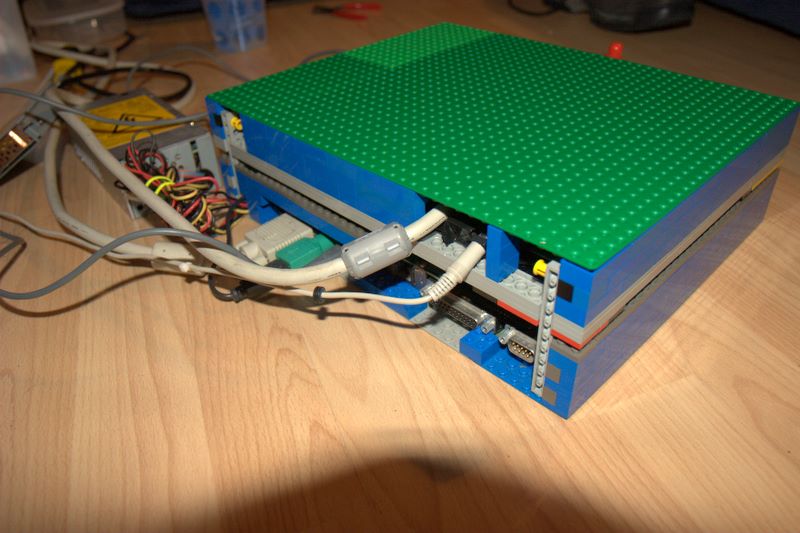 The work that needs to be done tidying the cables |
Design notes
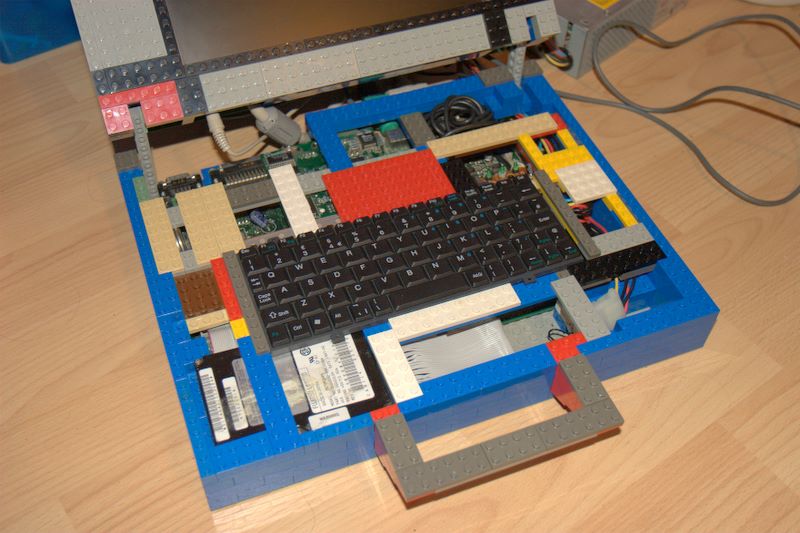
The basis of the design is two 32x40 base sections with 2 wide bricks around the sides of the base. The height of each section was dictated by the height of the components, in the base the A7000 motherboard with the keyboard mounted above it, with a cradle to insulate the motherboard from the keyboard. In the monitor section the height is pretty much the smallest I could manage with the monitor.
There is a large amount of internal bracing, which attempts to make the top plate layer strong enough to rest your wrists on for typing.
The monitor proved to be quite tricky, it has 3 separate internal parts, the screen and decoder electronics, the power and brightness buttons on a separate board and the power connector on a separate board. I shorted out one monitor trying to fit it in the case, probably the power board hitting the back of the screen, so when I managed to get a second screen I used a large amount of insulating tape to make sure it wouldn't happen again.
The design of the top is Mondrian inspired, but it would be better with a white background.
Photos of internal construction
 |
 |
 |