How to print the stickers
This is a quick tutorial on how to print the stickers that I've been making. It uses free software (so as not to cost you any more) but you will be able to use other methods if you're more sure of your own software.
This tutorial uses.
- Open Office 2.0 writer, (or a later version)
- Open Office templates for sticker paper
- A colour inkjet printer
- Some sticker paper
- A pair of scissors
Preparing the software
If you don't have a copy already, download and install a copy of Open Office from their website. Although this tutorial is using a windows version, it should work just as well on Linux, Solaris or any other Open Office platform.
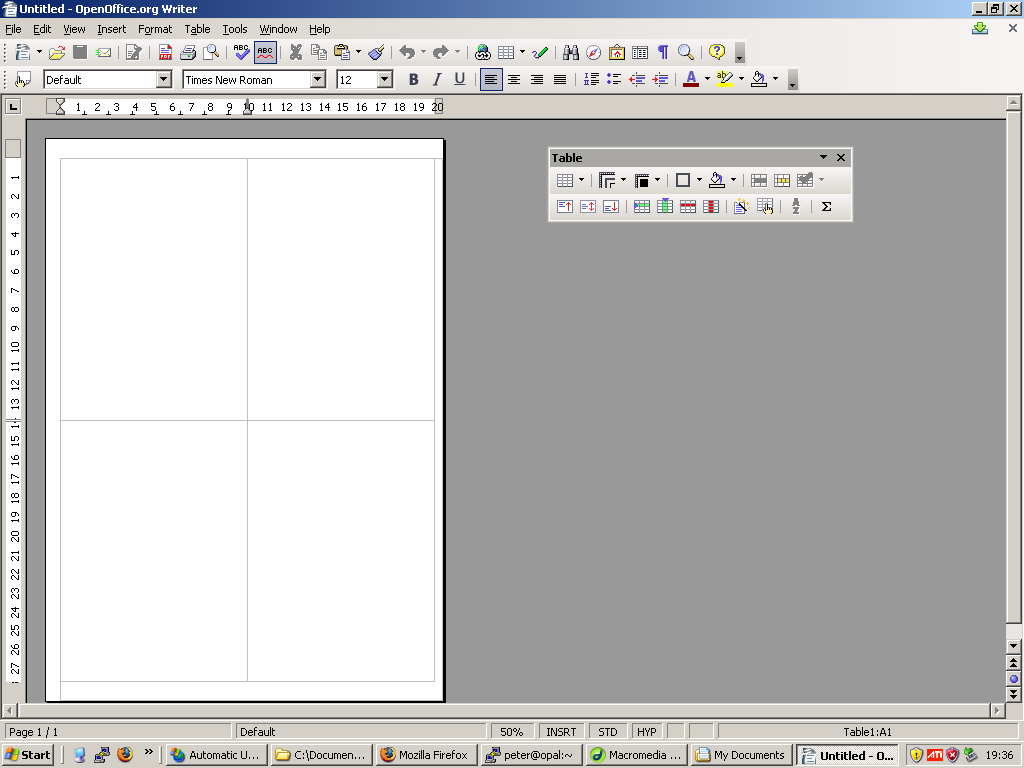
Preparing your document
Most sticker label paper has an identifying code, such as an Avery code, or tells you the size.

Use this information to help you choose a template , you can download a selection of US Letter templates and Europe/Asia A4 templates or search google for more options. When you open this template in Open Office it will put guidelines on the document, this allows you to make sure that the stickers you add do not overlap the edges of stickers (splitting them in half).
Adding the stickers
Download the stickers you want to print out, and use drag-and-drop to add them to the page. Copy and Paste doesn't seem to work on the images, so for multiple copies drag more on.
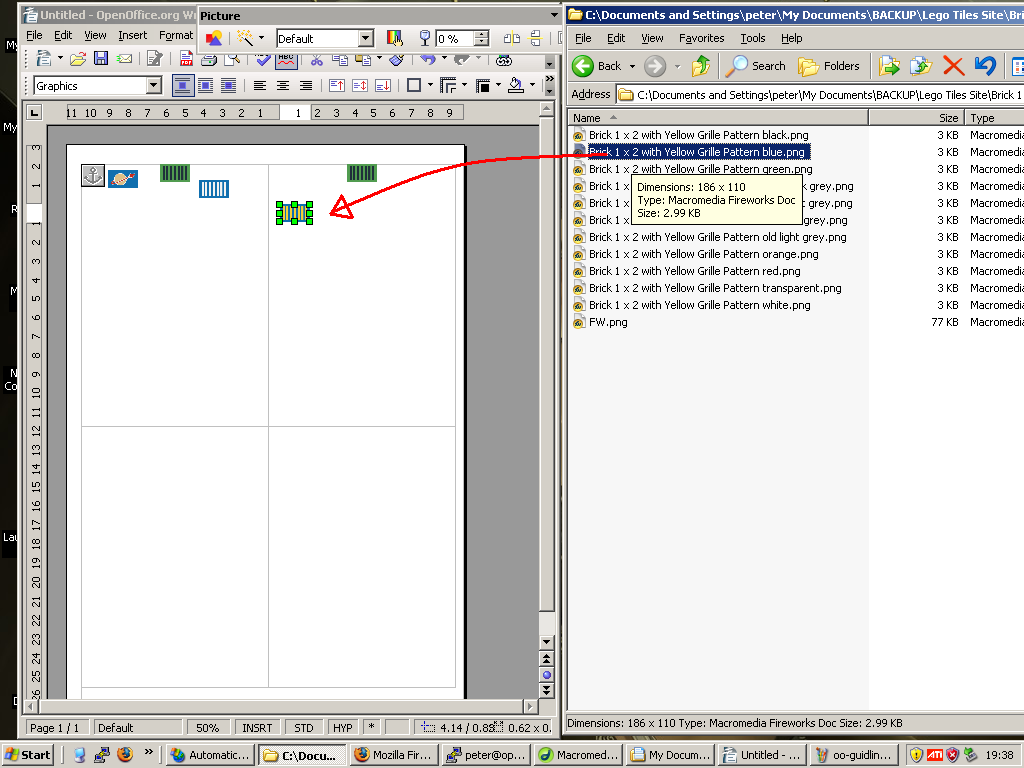
Once added you can drag them from their initial position to a free space on the page. The DPI is set correctly on the images, so they should come out at the right size when printed, but look small on screen.
Print them out and stick them on
If all has gone to plan you should have a page of stickers that don't overlap with any sticker borders.
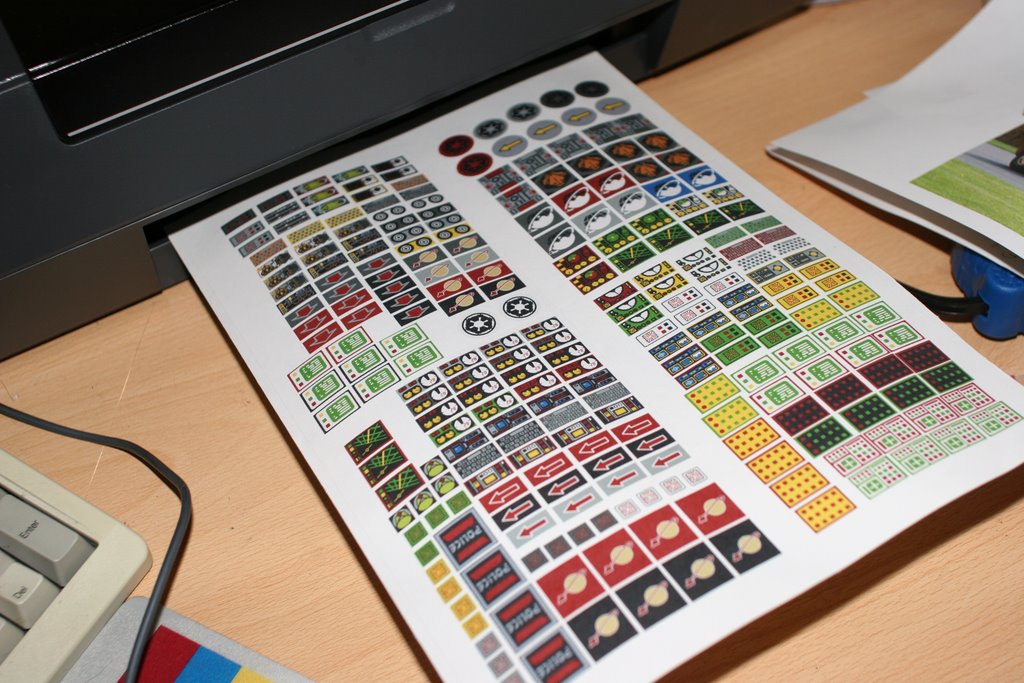
A bit of careful cutting and stick them onto pieces (clean pieces for the best stick) and you should have something a little like this...
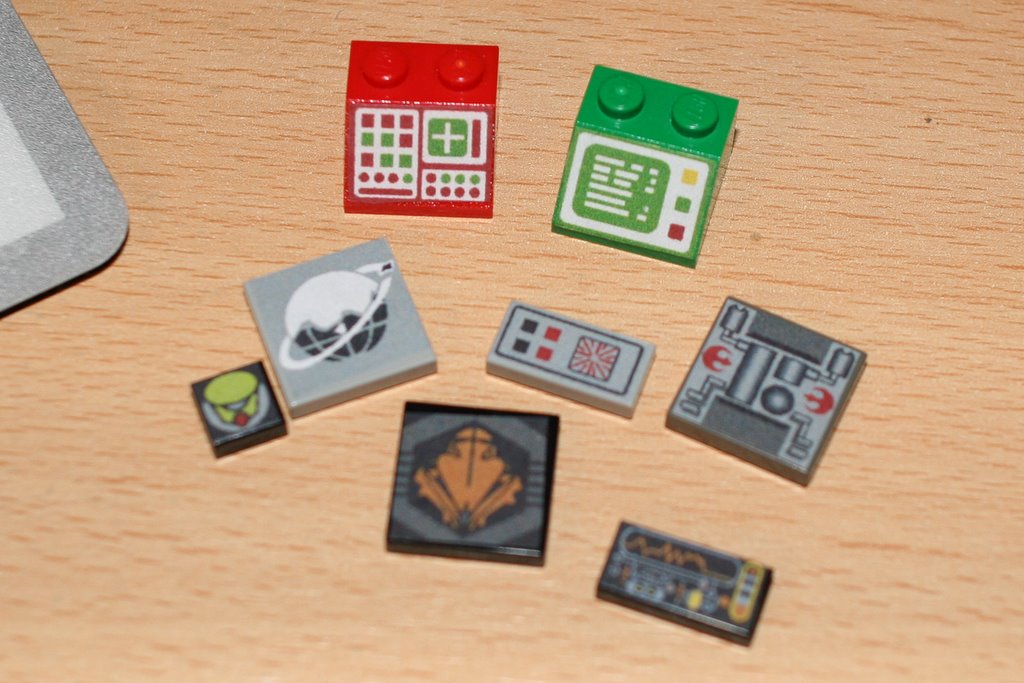
Hope you enjoy them.